Email us
hello@tile.co.uk
hello@tile.co.uk
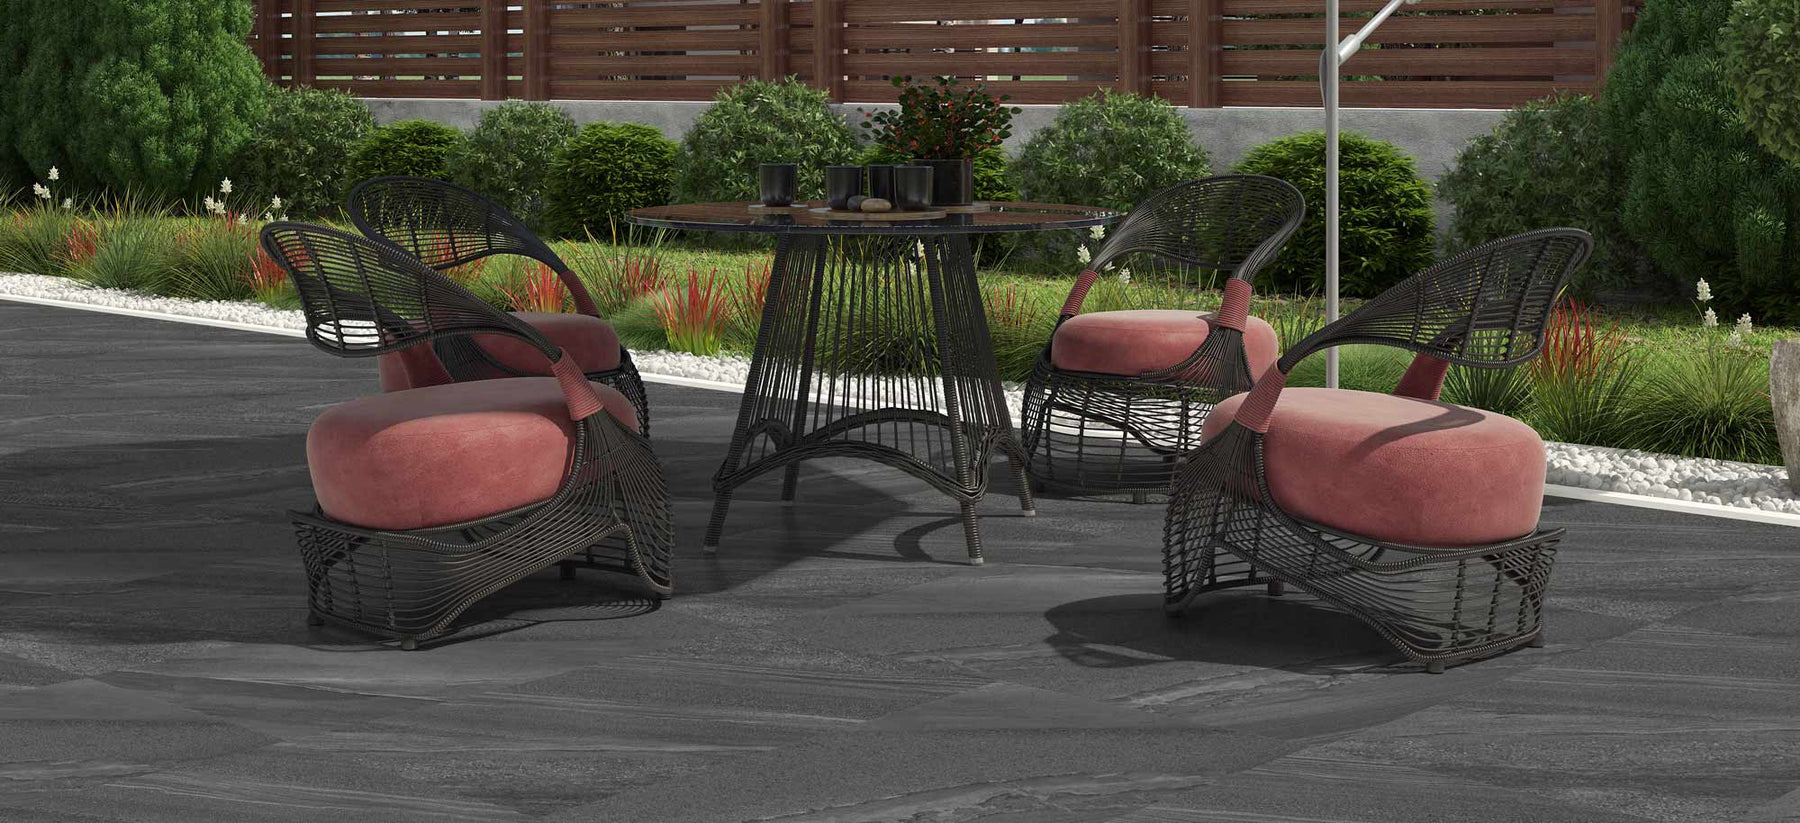
Outdoor tiles and porcelain tiles are becoming increasingly popular in landscaping and DIY garden makeovers. Being low maintenance, hardwearing and made in a variety of sizes, designs and colours it’s easy to see why.
Perfect for small gardens and larger outdoor areas alike, they fit seamlessly into any landscaping vision. And outdoor tiles are even straightforward to lay.
If you’re thinking of embracing this holy grail of paving slab innovation, read on for our guide about how to lay outdoor tiles.
1. Before you lay your outdoor tiles, you need to get the foundations right. This means:
a) Dig out your proposed patio area to a depth of 150 – 200mm. Include a slight slope away from your property of around 17mm per metre of patio (around a 1:80 fall) to allow for rain and water runoff.
b) Evenly put down 100-150mm of Type 1 base and compact with a compactor plate, making sure your area still has a drainage slope.
Once you’ve decided which one to use, template it out on your area as a rehearsal for the main event:
a) Following your chosen pattern, piece the tiles together checking for a good colour blend, if needed.
b) Line the joints up using tile spacers to ensure your chosen gap is even. A 5mm joint width is recommended for porcelain outdoor tiles.
c) Look out for any obstacles such as drains etc. This will give you a heads up on measurements for any cuts you need to do.
3. Your outdoor tiles sit best on a full, solid bed of mortar but because porcelain is non-porous, they’ll need some additional help to adhere effectively in the form of slurry primer. This method is quite simple and easy to do, just follow our steps and it’s all good:
a) Prepare your mortar in a ratio of 4:1, so 4 parts sharp sand to 1 part cement.
Tiling Top Tip: We recommend adding a plasticiser to make the mortar more workable. Check your chosen plasticiser instructions for ratios required.
b) Add water and mix until your mortar is of a firm consistency; it shouldn’t be too wet or sloppy.
c) Shovel or trowel the bedding mortar on top of your Type 1 base, spreading evenly as you go. Make sure your mortar bed is about 30-50mm thick, applying enough for 1-2 slabs at a time so it’s easier to work with and around.
d) Mix up your slurry primer to product recommendations then apply using a stiff brush to the underside of each outdoor tile before you lay it.

Tiling Top Tip: We recommend Tuffbond Utility Slurry Priming Mortar to prime the back of each tile before laying because it enhances the adhesion bond between the paving units and bedding mortar and where present, between the bedding mortar and supporting concrete structure.
e) Using a suction pad tool, lay your primed outdoor porcelain tile into position on the solid mortar bed.
4. Take your time to level your tiles properly. The last thing you want is a trip hazard or broken slabs because you've whacked them to hard with the mallet. You also need to create and maintain your water run off slope, as detailed above.
a) Use a rubber mallet and a spirit level to tamp down and level the outdoor tile.
Tiling Top Tip: If you want an easier way, use a tile levelling system which creates your joint width as a tile spacer and pulls the paving tiles together for you.
b) Add in your tile spacers to create uniform joint widths and lay the next primed porcelain slab.
c) Repeat this process until your patio is complete, using a bucket of water and a sponge to wipe off any excess mortar and slurry as you go. If you don’t get the excess off quickly, it will stay on your newly-laid tiles, so this is an important step.
5. Once you have accurately measured what you need to cut, use a diamond-tipped blade specifically for cutting porcelain paving tiles. A water-cooled cutting machine would be best and give you a cleaner line.
Tiling Top Tip: Cut each end of your line first to prevent the outdoor tile from chipping. For more on how to cut tiles, check out our blog here.
 6. After you’ve given your tiles 24-48 hours drying time, you’re ready to use your outdoor porcelain tiles grout. We recommend Tufftop Utility Paving Jointing Mortar because it’s easy to apply onto a wet patio and stays where you put it.
Whichever jointing compound you choose though, make sure you follow their product instructions for the best results.
Tiling Top Tip: If you hadn't guessed, we love the Tuff Utility product range for laying outdoor tiles; they are really simple to use and do what they say on the tub.

{"one"=>"Select 2 or 3 items to compare", "other"=>"{{ count }} of 3 items selected"}